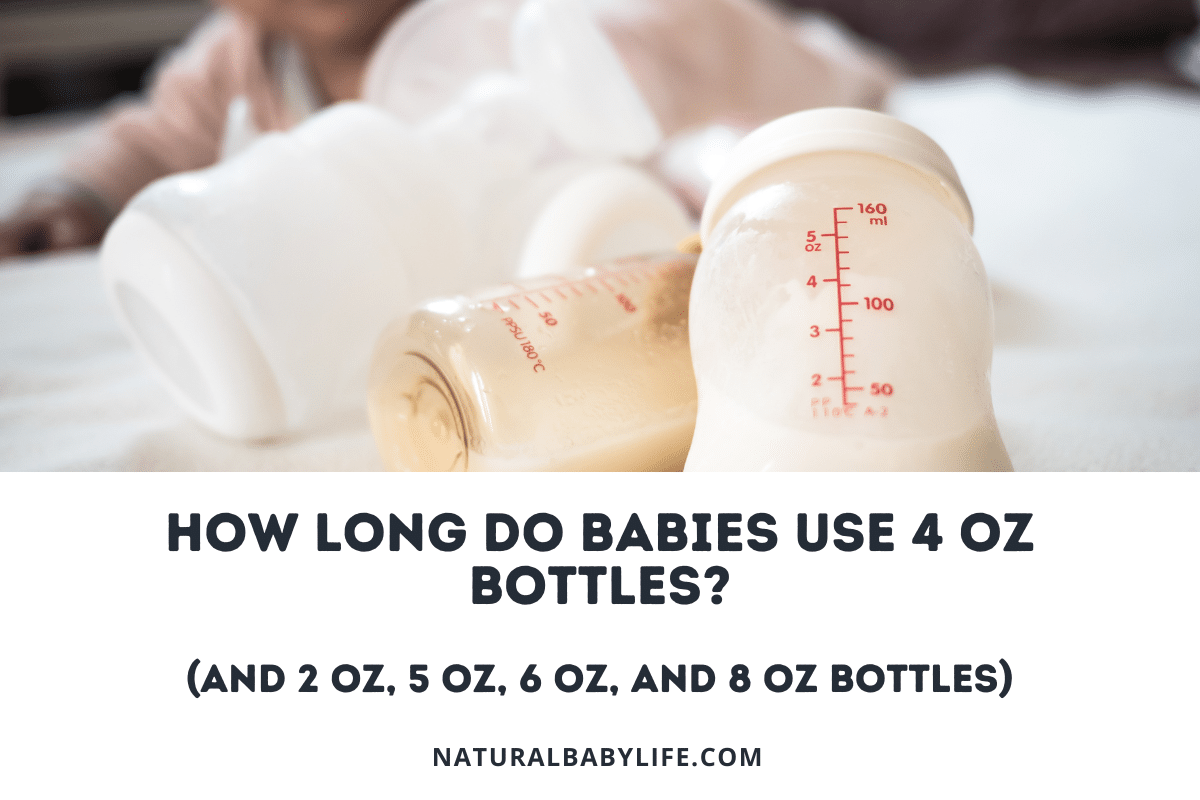
It’s not uncommon for your baby’s bottle to grow mold. Some parents wonder if they should just toss the bottle while others search for ways to salvage it. Do you know what to do if baby bottle has mold?
In most situations, you will be able to salvage a moldy bottle and any parts by fully cleaning and sterilizing everything. Clean with soap and water, and then sterilize the bottles.
Keep reading to find out more about how to handle mold on your baby’s bottle and detailed steps on how to clean it.
Table of Contents
What to do if baby bottle has mold?
Finding mold in your baby’s bottle can be terrifying, leaving parents upset and wondering how they could have missed it, and more importantly, whether it can be cleaned.

You can easily clean a moldy baby bottle in a few simple steps.
Rinse the bottle out thoroughly to remove as much of the mold as possible, then soak and wash the bottle and any contaminated pieces in hot, soapy water.
Once the bottle is clean, sterilize all the pieces to kill any remaining germs and bacteria.
Allow the bottle to dry completely before reassembly or storage.
Before we get to the steps on how to clean and sterilize, let’s take a look at some common questions about moldy bottles.
Should you throw away moldy baby bottles?
Many parents default to throwing a bottle away if there is mold. But can you save the bottle?
There is no need to throw a moldy bottle away as long as it is not damaged and you are able to remove the mold completely. You can clean and sterilize it, making it usable again. Only throw the bottle away if you cannot remove the mold.
Mold can also end up on the other bottle parts such as the caps and retaining rings so it is important to sterilize these pieces as well.
Mold growth in these pieces may not be easily visible so clean and sterilize it all.
What about mold on baby bottle nipples?
What if the mold is on a bottle nipple instead of on the bottle? Should you throw it out then?
If you find mold on the bottle nipple, you can wash and sterilize it in the same way you would the bottles as long as there is no damage to the bottle nipple.
Test the bottle nipple by turning it inside out, and keeping a lookout for any scratches or cracks.
Mold is difficult to remove from these crevices so if you find any damage it would be best to throw it out.
What if your baby drank from a moldy bottle?
Maybe you didn’t see the mold or perhaps your baby got ahold of a lost bottle and they accidentally drank from a moldy baby bottle. What should you do?
Mold is typically harmless when ingested, so if you find your baby has drunk from a moldy bottle it is important to stay calm.
Immediately wipe the baby’s mouth with a soft, wet cloth before calling poison control or your doctor to get immediate medical advice. It is also okay to give your baby water to drink, but do not induce vomiting.
Consuming mold can cause discomfort for your baby. Some typical symptoms are similar to those of food poisoning, such as diarrhea, fever, and vomiting.
Always call a medical professional if you know your baby has ingested mold, especially if your baby is allergic to mold or has asthma.
How to clean and sanitize a moldy baby bottle
Although it can seem like a long process, it is important to clean the bottles as thoroughly as possible if you want to be able to use them again.
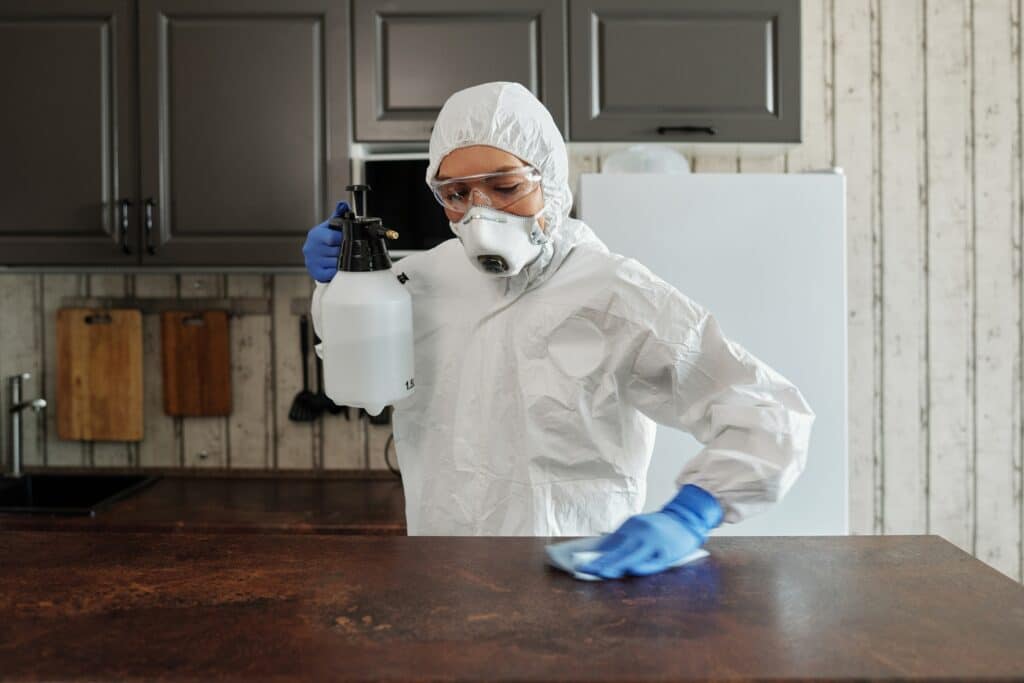
To ensure a moldy baby bottle is clean and safe for reuse:
- Rinse
- Soak
- Scrub clean with water and soap
- Sterilize
- Air dry completely
Rinse
It’s tempting to skip straight to the washing (or sterilizing – hello dishwasher!) stage of cleaning your baby’s moldy bottle.
However, the best thing you can do to ensure a thorough cleaning is to remove as much of the mold as possible at the beginning.
Rinse the bottle out as thoroughly as possible because you want to get as much of the mold off of it as you can without contaminating your kitchen work surfaces or dishwasher.
If you have a sprayer you can use that to help physically remove it.
If there are moldy bottle nipples or other bottle parts, be sure to rinse out all of the parts as well, using the sprayer to help dislodge any mold or residue.
Soak
Once you have removed as much of the mold as you can with just rinsing and the sprayer, you will need to soak the bottle to remove any residual mold.
Soak the bottle with hot, soapy water for a few hours, even overnight if possible. This will help loosen any remaining mold and help dislodge any excess dirt or grime.
For any bottle nipples or small parts, use a small bowl and fill it with hot, soapy water for soaking. Submerge all the pieces in the water for a few hours or even overnight to help loosen any mold or grime.
Scrub clean
Once the obvious mold has been removed, scrub the bottle and all the pieces thoroughly to ensure there is nothing remaining.
Using your bottle brush, scrub the inside of the bottle and any bottle parts. You can half fill your bottle with water and soap then use the bottle brush to help remove the remaining mold, dirt, and grime.
It may take some time to fully remove all of it, so repeat and scrub as much as necessary.
If the scrubbing alone hasn’t removed all mold or residue, then fill the baby bottle halfway with fresh warm, soapy water and cover and shake it to dislodge more of the mold.
Pour it out and repeat as needed to help dislodge more of the residual mold. You may need to repeat soaking and cleaning if you are struggling to get the mold out of the bottle or parts.
Sterilize
Once your bottle and any parts are fully clean and without mold, it is important to sterilize all of these items to ensure they are safe for your baby to use. Sterilization will kill off any remaining germs and bacteria.
The CDC recommends these methods for safe bottle sterilization:
- Dishwasher
- Boiling
- Steaming
- Bleach
Once you’re done cleaning the bottles, also clean and sanitize your bottle brush, or just throw it out and replace it, since it could have residual mold on it, increasing the chance of mold regrowing in the future
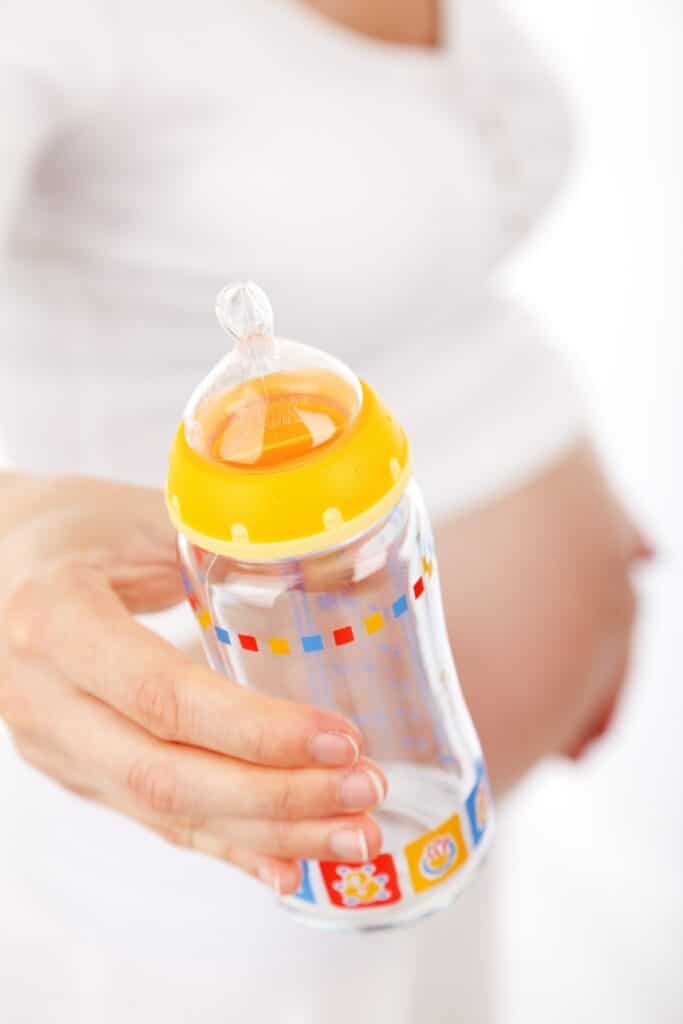
Dishwasher
The first method and easiest, method for sterilizing your baby’s bottles is to use a dishwasher that uses hot water and has a heated drying cycle. A sanitizing cycle would also work to sterilize your baby’s bottles.
Just be sure to check that your bottles and parts are dishwasher safe.
Boiling
You can also boil the items for sanitation. You may not be able to boil your plastic bottles.
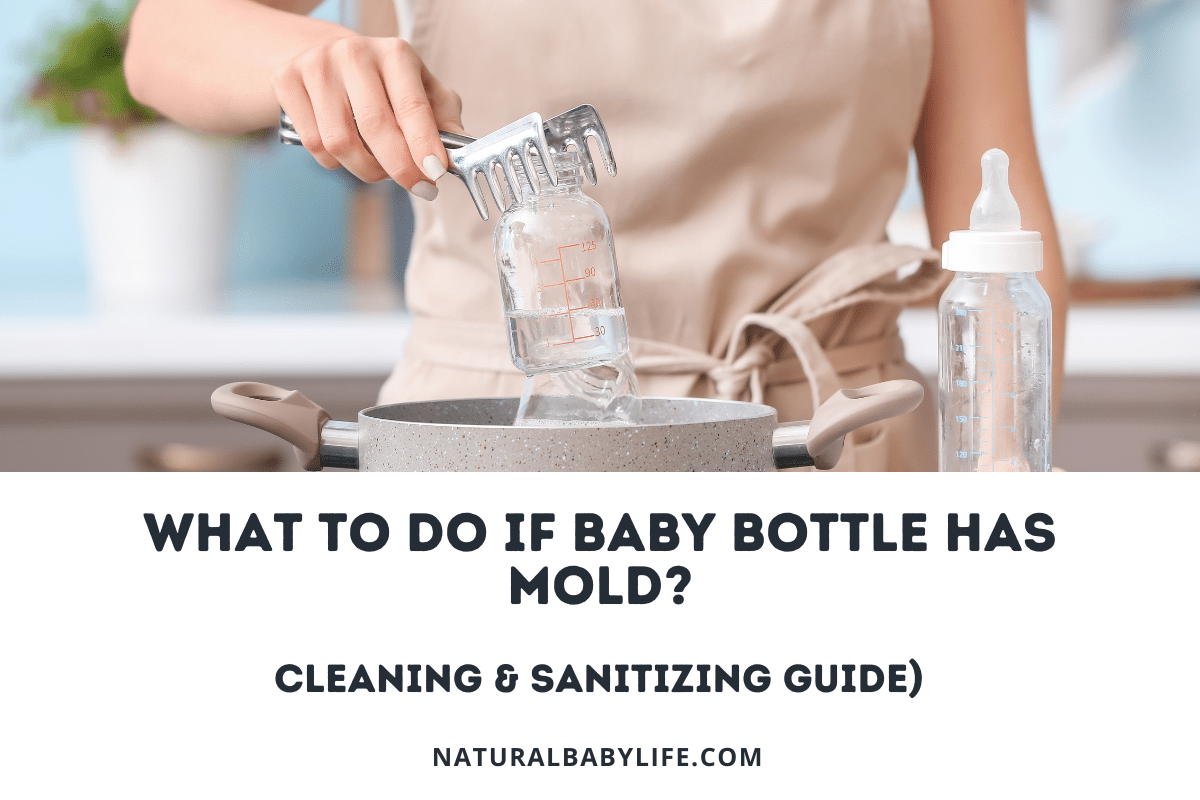
Here are the steps for boiling your baby bottles:
- Place disassembled feeding items into a pot and cover with water.
- Put the pot over heat and bring to a boil.
- Boil for 5 minutes.
- Remove items with clean tongs.
Steaming
Steaming is another effective way to sterilize baby items using either the microwave using specialized steam bags or a plug-in system.
Be sure to use the manufacturer’s instructions when using either the bags or the system you are using.
Bleach
The CDC only recommends this if you cannot use any of the methods above.
To safely sanitize your baby’s bottles using bleach:
- Prepare a bleach solution of 2 teaspoons of unscented bleach per gallon of water in a bucket.
- Submerge all items completely, making sure that the solution covers all parts and fills the bottles so there are no air bubbles in them. When sanitizing nipples, squeeze the solution through the hole.
- Soak items for at least 2 minutes.
- Remove with clean tongs or hands. Do not rinse because germs could end up getting back into the sanitized items. The leftover bleach will dry fast and break down quickly, ensuring that it’s safe for your baby.
Air dry
Once all the cleaned and sterilized parts have been removed, place all items on a clean towel or on paper towels. Let them fully dry before you use them or store them.
Do not store them while still partially wet because doing so will give mold a chance to grow.
FAQs – Frequently Asked Questions
Can you save a moldy bottle?
You can typically save a moldy baby bottle by scraping off the mold and soaking and rinsing the bottle. Don’t forget to sterilize and let the bottle fully dry.
What are some ways for preventing mold in baby bottles?
The best way to prevent moldy bottles is to fully disassemble a bottle after each use, clean all pieces thoroughly, and then allow the bottle to air dry with the lid off.
Conclusion
Prevention is the best method for dealing with moldy bottles, but we’ve all found that lost bottle in the couch or car. While you can toss them out for convenience, it’s possible to save and reuse the bottle with cleaning and sterilization.

