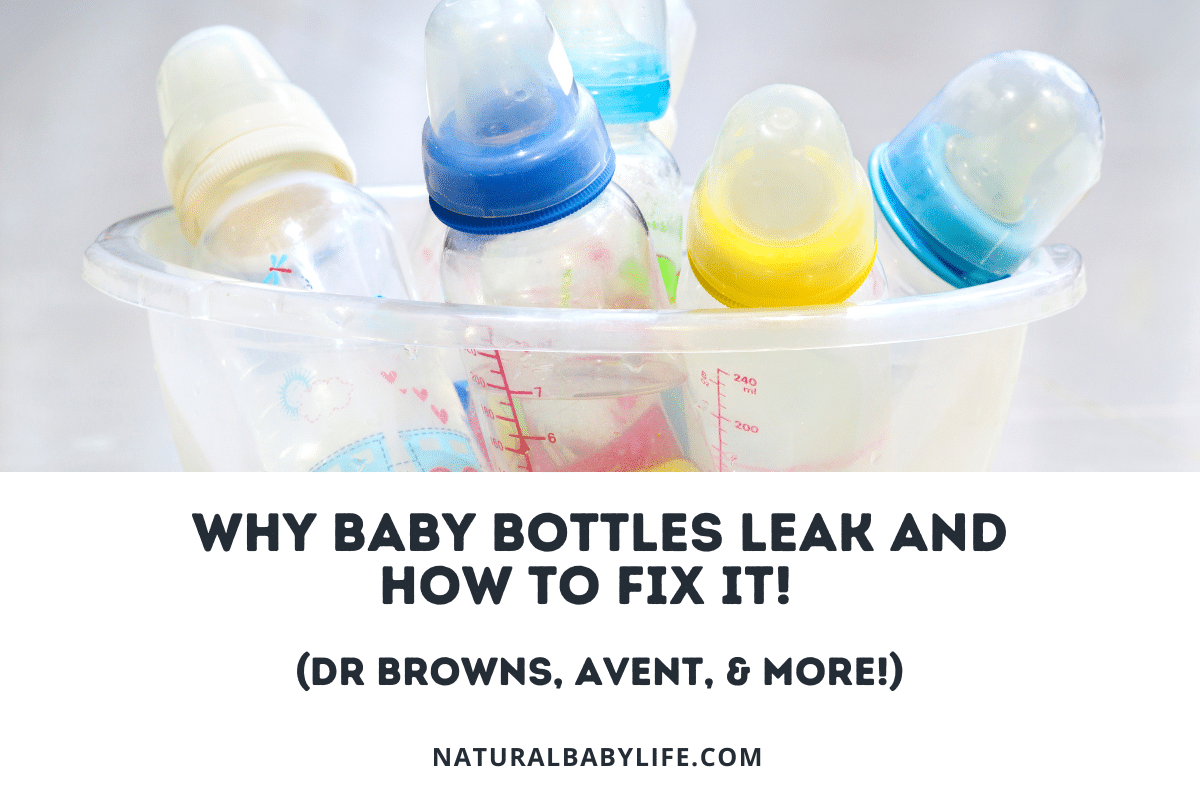
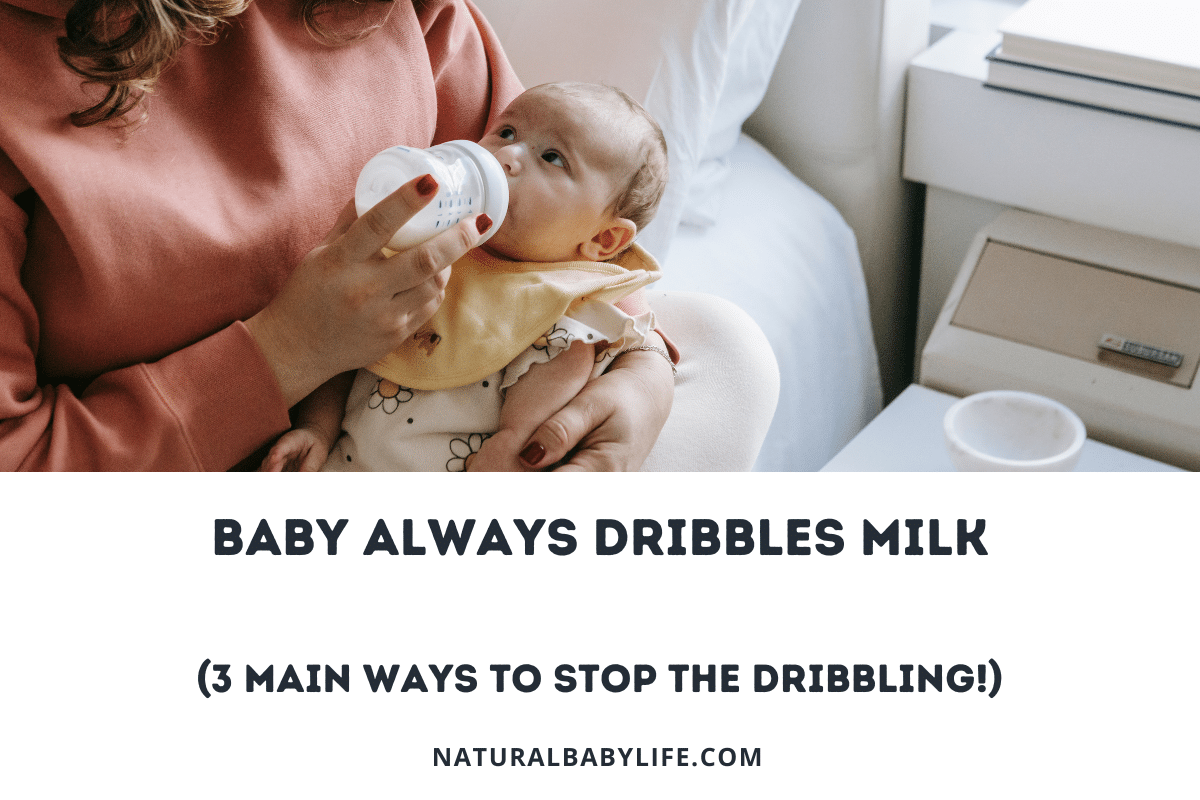
Unless you are exclusively breastfeeding, you and your baby are probably going to spend a lot of time with a bottle. The cost of bottles and bottle parts can be intimidating, especially when you find out the bottles leak, wasting your precious breastmilk or expensive formula.
While baby bottles can leak because of a product defect or design flaw, it is most often caused by improper use. Proper assembly, feeding position, nipple size, and the temperature of the formula or milk should all be considered to fix issues with leaking.
Even “leak proof” bottles can develop leaks if they are old or used improperly. If you have a problem with your baby’s bottle leaking, keep reading for suggestions about what could be causing the bottle to leak, and how to fix the leak on your specific bottle type.

Table of Contents
Why baby bottles leak
There are few things more frustrating than a leaky baby bottle. Whether you’re breastfeeding or formula feeding, you don’t want to lose any milk or formula. Not to mention, it can be a mess and your little one may not be feeding properly if there’s a leak.
There are several reasons why baby bottles leak. While some bottles have specific designs and special constructions that might cause leakage, it is much more likely that you are putting the bottle together wrong or using it incorrectly.
If this happens to you, don’t worry! You aren’t alone and bottle mishaps happen to the best of us.
Here are the most common reasons why baby bottles leak:
- Nipple age or size
- Temperature of the milk or formula
- Improper assemblage
- Feeding position
Since every bottle design is a little different, it’s important to look at some of the different brands individually when it comes to assembly of the bottle. In general, however, the other items can be tackled in the same way.
I’ll provide my top choice for a natural and leak-resistant baby bottle, dive into how to stop your bottle from leaking, and then give you a rundown on most of the popular baby bottle brands to help you diagnose your particular issue!
Why do baby bottles start to leak?
There are numerous brands on the market that offer “zero leak” or “leak proof” baby bottles, but keep in mind that it is only true under ideal conditions.
There are any number of operator-errors that can be made (especially with the more complex designs) when you are trying to get a bottle ready in the dark at 2 am or even at 10 am with a hungry baby crying in your arms.
As with any bottle, it’s important to make sure that all pieces are replaced as necessary. For instance, most nipples need to be replaced every two to three months, and many manufacturers recommend you replace the bottle itself every six months. In reality, most parents probably think that nipples will last as long as the bottle itself, causing problems in the long run.
The best natural and leak-resistant baby bottle choice
Before I get too deep into the weeds with diagnosing your bottle problems, I do want to give a quick recommendation based on my experience.
In my opinion, the best baby bottles are simple, made from stainless steel, and will last all the way up until it’s time to transition up to sippy cups (or longer!). One product that checks all of these boxes and also is virtually leak-free is the Pura stainless steel baby bottle.
You can get a fantastic set that includes everything you need from birth until a year or more. It’s a very reasonable price considering what it comes with and you can check it out right here (along with all of the great reviews from other parents).
Here’s what it comes with:
- (2) stainless steel bottles
- (2) medium flow nipples
- (2) fast flow nipples (with anti-colic tube)
- (2) XL sippy cup spout nipples
- (2) silicone travel covers
- (2) silicone sealing discs
- (2) removable silicone sleeves for the bottles
These are also all dishwasher-safe, shaped to fit into cup holders, and are tapered for little hands! You can even pick up a standard water bottle attachment down the road once your baby is done with formula or breastmilk.
If you’re just trying to find a solution for the bottle you already have, read on! However, if you’re fed up with your current option, then don’t forget to check back here.

How do I stop my bottle from leaking?
No matter what type of bottle you’re using, there are several things you can check if you are having leaking issues:
- Age/condition of nipple – While the manufacturers’ recommendations vary, it’s a solid practice to replace your bottle nipples every two to three months, or when there is visible wear and tears from little teeth.
- Size of the nipple – Bottle nipple sizes vary from those permitting only a slow flow of milk or formula to those allowing a fast flow. Typically, the older the child, the faster the flow. If your child is using a nipple size that allows the milk to drip out faster than they can drink it, you are likely to end up with a mess. A too-small nipple, meanwhile, will make your baby suck harder, which can lead to a seal breaking or air backing up into a vent and causing a leak in many brands.
- The temperature of the milk or formula – Liquid that is too warm when the bottle is sealed will increase the air pressure inside the bottle and cause leaks or damage as it tries to find a way to relieve that pressure. A good rule of thumb is to always crack the seal and let out the extra pressure if you have warmed the bottle with the lid already on.
- The tightness of assembled pieces – This one may seem obvious, but tightening the pieces too much is just as likely to cause a leak as not tightening them enough.
- Feeding position – Babies feed best when they are sitting up and the bottle is held horizontally or at an angle. When the bottle is held mostly up-and-down, gravity is doing the work that your baby should be doing and the milk or formula drips out on its own. This constant drip can overwhelm your baby and lead to spills or leaks (or even choking, if the flow is too fast).
How to stop Dr. Brown bottles from leaking
Dr. Brown bottles are some of the most popular baby bottles because they have a venting system that mimics the flow of feeding directly from the breast. This system helps reduce burping, gas, spit-up, and colic.
The vacuum created by the vent also helps to preserve the nutrients found in milk and baby formula, allowing your baby to get the most out of each feeding. With the advancement in feeding technology, however, comes an increased complexity in the design of the nipple and more opportunity for something to go wrong.
The Dr. Brown website provides details directions on how to assemble the bottle properly when it is time to feed your baby:
- Fill your bottle to the desired amount, being careful not to overfill.
- Snap the nipple into the nipple collar and place loosely on the bottle.
- Warm the bottle per warming instructions.
- Snap the reservoir onto the insert.
- Remove the nipple and collar and place the reservoir in the bottle.
- Place the nipple and collar over the vent system and tighten snugly.
As with any bottle, you want to ensure your baby is comfortable, with their head slightly higher than their chest while feeding. When using a bottle with the Dr Brown vent system, hold the bottle at a 45-degree angle to keep the milk or formula from flooding the vent.
Dr. Brown bottles leak from cap
There are several reasons why your Dr. Brown bottle might be leaking around the collar at the top, most of which are very easy to fix.
- Milk or formula was heated with the vent and nipple fully assembled When the liquid and air in the bottle are heated, they expand and are pushed out through the vent. Try heating your baby’s bottle before assembling the inner parts. Once the milk or formula is warm, completely assemble the nipple system as directed.
- Milk or formula was overheated
If the liquid in the bottle is steaming, it’s possible that the steam is condensing in the vent and leaking out from there. Only heat your baby’s food to body temperature, not hot enough to create steam. - Shaking the powdered formula in the bottle
This will cause some of the formula to get trapped in the vent. Instead of shaking to mix the formula, try stirring it with a long spoon before assembling the system. - The collar is too tight
If the top is too tight, the pressure will build up and relieve itself by leaking. The collar should only be twisted enough to close so resist the urge to tighten it too much as a way to prevent leaking.
Baby leaks milk when drinking bottle
The vent system in the Dr. Brown bottle allows the milk or formula to flow in a way that mimics breastfeeding, but it’s also a more complicated system than the nipple you see in a standard bottle.
Holding the bottle at the incorrect angle (it should be around 45 degrees) can flood the vent, causing a leak.
Another issue could be that the nipple is the wrong size – a hole that is too large can cause your baby to stop the flow and cause a backup, which would also flood the vent.
Alternatively, if the hole is too small, your baby may suck harder to get more food and break the seal, creating a leak.
If you do get milk or formula in the vent, just hold the bottle upright and remove the nipple to release the built-up pressure, then put it back on as normal.
Leaking in diaper bag
If your Dr. Brown bottle is leaking into your diaper bag and you have already confirmed that the top is tight, the problem is probably that the bottle is tilting or falling over in the bag and milk or formula is getting into the vent system.
To prevent this, insert the traveling disc that came with your bottle under the nipple and take it out when you are ready to feed your baby. You can also buy a travel cap that goes on in place of the nipple. If you’re in a pinch, store your bottle in a pocket in the bag and make sure it stays upright.
Dr. Brown bottles leaking from top without vent
The previous models of Dr Brown bottles have to be used with the vent system or they’re much more likely to leak. If you have a model that doesn’t require the vent system and the bottle is leaking, there may be another cause.
If the collar or top isn’t tight enough, this may cause the bottle to leak from the top. It’s also possible the nipple is too large or too small, which may also cause a leak.
Dr. Brown bottles leaking from bottom
If the bottle is in fact leaking from the bottom, there may be a crack in the bottom of the bottle. In this case, the bottle would need to be replaced.
However, if you notice milk or formula has pooled under the bottle in a diaper bag or on the counter, it’s possible that the milk leaked from the top and spilled over.
Make sure you don’t overfill the bottle as well, since this can also cause leaks.
Comotomo baby bottles leaking
Comotomo bottles are popular because their shape and silicone construction closely mimics the contour and feel of a breast. Their construction is also very simple and easy to clean and maintain. If your Comotomo bottle is leaking, it will probably be just as easy to fix.
If the leak is coming from where the top and bottom pieces meet, check the ring and ensure the nipple has been popped into the ring completely and correctly and the ring has been screwed tightly onto the base. This is a common issue that is easily overlooked!
If the leak is coming from the vents on either side of the nipple, there is probably a little bit of residue clogging the vent. To clean it out, run hot water over the nipple and massage the vents to break up any clogs. After that, place the nipple in boiling water for five minutes. Not only will this sterilize the nipple for your baby’s use, it will also help melt any remaining clumps and ensure the vents are clear.
Philips Avent Natural bottles leaking
Philips Avent Natural bottles are great because the nipple design promotes a natural latch to help avoid nipple confusion, but the bottle system is not overly difficult to assemble or clean.
If you check out the base of the nipple, you’ll see a couple of small notches. When assembling the top, make sure these notches line up with the vents to ensure the bottle is functioning properly. The best way to get a good seal when putting the top together is to assemble it immediately after washing when the parts are still wet.
Bottles not venting
If your Philips Avent Natural bottle is leaking because it is not venting properly, it’s likely that the top is not sealed properly.
You will definitely have a leaking issue if the top is loose, but tightening it too much will cause the seal to break and leak as well. A good trick for getting it just right is to put the nipple and ring together, then snap the lid onto the top piece before putting it on the base of the bottle. Instead of twisting the ring onto the bottle, twist the cap. Once it starts to spin on its own, the top is correctly tightened.
Air bubbles
You may be concerned when you see bubbles developing in your baby’s milk or formula using the Philips Avent Natural bottle, but they’re actually just a product of the design itself. The air you see in the bottle shows the vent is working and the air is in the bottle rather than in your baby’s stomach.

Playtex baby bottles leaking
Playtex currently has three different baby bottle designs. One is a fairly classic bottle design with a simple vented nipple, but the other two are unlike either each other or anything else on the market.
The Playtex Nurser has a disposable drop-in that holds the milk or formula, and the exterior bottle is for the convenience and comfort of holding it while nursing. The biggest issues that you’ll have involve not placing the drop-in bag correctly so that the top can make a good seal.
The VentAire is fairly complicated and has several pieces (so more opportunity for leaks), with both the top and bottom being removable.
Drop-ins leaking
The Playtex Nurser contains a drop-in bag for the milk or formula with the traditional bottle exterior making it easier to hold and feed from.
If your Nurser bottle is leaking, check to make sure there are no kinks or creases in the lip of the drop-in that could be allowing liquid to seep out as your baby feeds.
How to use Playtex VentAire bottles
Playtex VentAire bottles are one of the more complicated bottle systems on the market, but are an excellent choice for your baby when assembled and used correctly. Once the bottle pieces have been washed, sterilized, and dried, you are ready to assemble the bottle.
Since Playtex recommends that the milk or formula is mixed before adding it to the bottle, this is not a bottle you want to prepare in advance. Follow these instructions for using the Playtex VentAire bottle:
- Place the vent into the base. For most bottle types, this will be the blue piece; for older bottles, it may be clear.
- Screw the base onto the bottom of the bottle.
- Fill the bottle with prepared milk or formula.
- Pop your choice of nipple into the top ring.
- Screw onto the bottle.
- The angle of the bottle makes it easy to feed your baby sitting up, just ensure the bottom of the bottle is always held higher than the straight portion while feeding.
Tommee Tippee Closer to Nature bottles leaking
Tommee Tippee Closer to Nature bottles are designed to mimic the feel and movement of mom’s breast to encourage a natural latch. If your standard Closer to Nature bottle is leaking, check to make sure the nipple is fully snapped into the collar.
Anti-Colic bottle leaking
The Tommee Tippee Anti-Colic bottle has a venting system with a milk heat sensor and a star valve toward the bottom of the bottle. If you have both the Closer to Nature and Anti-Colic bottle types, be sure you don’t use the nipples interchangeably. The Closer to Nature nipples have a built-in air valve and will leak if used with the anti-colic vent system.
The milk sensor will indicate if the milk is too hot, cool, or just right. While this is great for knowing if the temperature is perfect for feeding your baby, it does double duty as an indicator of whether or not the milk or formula temperature is correct for putting the bottle together.
If the liquid is too warm, it will cause steam to condense in the valve and leak out. Dip the sensor about an inch into the liquid for ten seconds to confirm the temperature. Once it shows purple, you’re ready to put the top on the bottle and feed your baby.
Star valve replacement
When you clean the bottle, make sure to remove the star valve from the venting tube, and don’t use the cleaning brush on the valve. If the valve slit has closed up, rinse it in soapy water and pinch it gently between your finger to open it back up. Using the brush on the valve can damage it and cause leaks.
The company does not sell replacement star valves, but you can call customer service for a replacement.
Conclusion
Bottle-feeding comes already comes with enough challenges, so leaky bottles can be pretty frustrating. In most cases, fixing a leaky bottle is easy. However, the cause of the leak can vary depending on what bottle you’re using. No matter which one you choose, always make sure the top isn’t too tight or loose and the milk or formula is the proper temperature.

